Hello everybody,
Michael here, and today I thought I’d do another series of web-development lessons, starting with an HTML lesson on the difference between block and inline content in HTML.
When creating a website in HTML, it’s important to know the difference between block and inline content in HTML when it comes to designing your webpage.
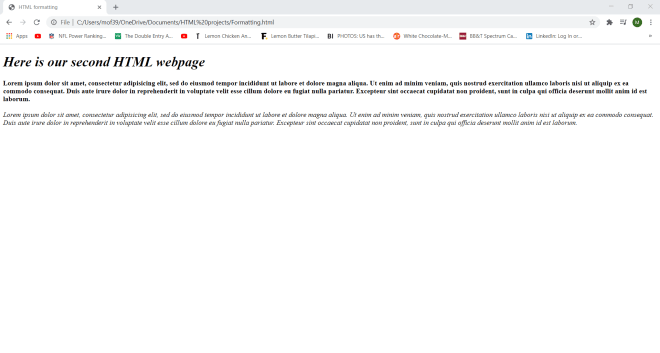
Block content refers to webpage content that always starts on a new line; the browsers will automatically add a margin before and after the content. Block content always stretches out as far left and as far right on the webpage as it can.
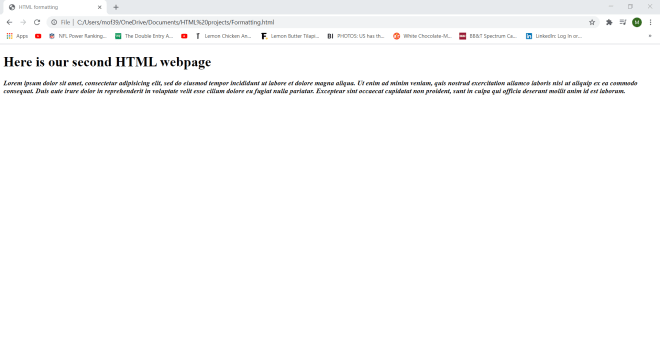
Inline content, on the other hand, doesn’t start on a new line and doesn’t stretch across the webpage-rather, inline content only takes up as much width as necessary.
Now that I’ve explained the basics of block and inline content, let me first show you some examples of block content:
<!DOCTYPE html>
<html lang="en" dir="ltr">
<head>
<meta charset="utf-8">
<title></title>
</head>
<body>
<h1>Flight finder:</h1>
<form action="Submitted.html" method="POST">
<label for="datepicker1">Pick the date you want to depart for your vacation</label><br>
<input type="date" id="datepicker1" name="datepicker1" min="2021-03-25" max="2022-03-25"><br>
<br>
<label for="datepicker2">Pick the date you want to return from your vacation</label><br>
<input type="date" id="datepicker2" name="datepicker2" min="2021-03-25" max="2022-03-25"><br>
<br>
<label for="time1">What time would you like to depart? (flights shown within 90 minutes of selected time)</label><br>
<input type="time" id="time1" name="time1"><br>
<br>
<label for="time2">What time would you like to return? (flights shown within 90 minutes of selected time)</label><br>
<input type="time" id="time2" name="time2"><br>
<br>
<label for="layover">How many layovers do you want?</label><br>
<input type="number" id="layover" name="layover" min="0" max="3"><br>
<br>
<input type="submit" value="Submit">
</form>
<div class="container">
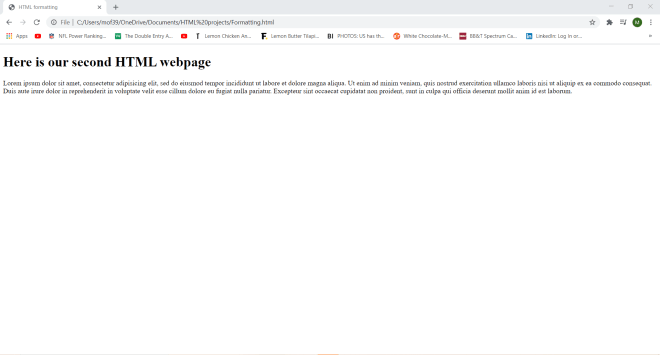
<p>Thank you for booking your next trip with XYZ Airlines!!</p>
<p>Can't wait to see you on your travels!!</p>
</div>
</body>
</html>
Take this HTML code (that I pulled from a form I made in HTML Lesson 7: Forms pt.2 (More Fun With Forms)) that will show you this form:

Pay attention to the code I highlighted in orange. Notice the <div> tag in the highlighted code. <div> simply denotes a section in a webpage, but it also often used for styling webpages with CSS (don’t worry, I’ve got a whole series of CSS lessons planned).
Wonder why I set a container class in my <div> tag? Well-although I won’t be doing so in this lesson-the container class will allow me to apply a certain CSS styling (color, font, size, etc.) to every element in the container. Let’s say I wanted to make all the text red and change the font to Comic Sans. I could easily do so with CSS simply by calling this <div> tag and applying the appropriate styling (I’ll discuss how to work CSS styling in the future).
However, you may have also noticed that I have two other block elements hiding within the <div> tag-if you guessed the two <p> elements, you are correct. Yes, the <p>, or paragraph, tag also counts as a block element and as you may have guessed, the <p> tag allows users to denote paragraphs (or single non-header lines of text, which are still paragraphs in the context of HTML) on their webpage.
Since you have two block elements within a larger block element, how would you work the CSS styling? If you wanted to apply the same style to everything in the <div> tag, you would call the <div> tag in your CSS file and apply whatever styling you want to all of the elements in the <div> tag.
However, if you wanted to apply different styling to each paragraph element inside the <div> tag, you would need to call each <p> tag in your CSS file and apply the individual stylings you want to each <p> tag.
- If you really wanted to, you could apply the same styling to each
<p>tag, but that would be redundant because if you wanted to apply the same styling to each<p>, simply call the<div>tag in your CSS file and apply the styling to that. <form>is also an block element, and so are the header tags (<h1>in this form).
Now, what would inline content look like on an HTML webpage. Take a look at the form code that I posted above. There are three inline elements scattered throughout the form-<label>, <input>, and <br>-which denote a label for a form element, an inpute element for a form, and a line break between each section of the form, respectively.
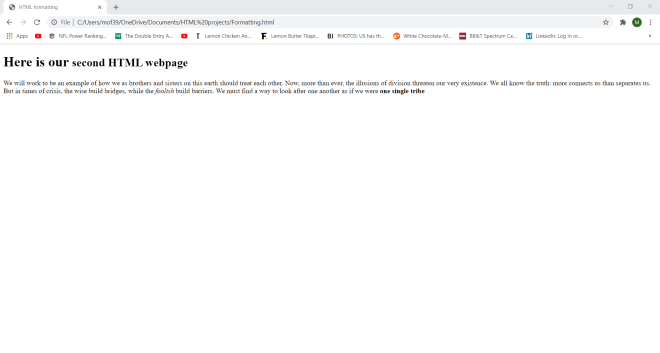
While I’m on the topic of inline elements, I wanted to discuss a special type of inline element-the <span> tag. Like the <div> tag, the <span> tag defines a section in your document, however, you’d only use the <span> tag with inline elements (recall that the <div> tag is used for block-level elements).
- Think of the
<span>tag as the inline version of the<div>tag (or the<div>tag as the block version of the<span>tag).
Although the <div> and <span> tags both denote sections of your document, the <span> tag allows you to run CSS styling on certain sections of your document. Take a look at this section of the form code:
<div class="container">
      <p>Thank you for booking your next trip with XYZ Airlines!!</p>
      <p>Can't wait to see you on your travels!!</p>
</div>
Now, let’s see what happens when we wrap a <span> tag inside the first <p> tag:
    <div class="container">
      <p><span>Thank you for booking your next trip with XYZ Airlines!!</span></p>
      <p>Can't wait to see you on your travels!!</p>
    </div>
OK, in this case, the <span> tag has no effect on the appearance of the <p> tag since, even though <span> tags technically require no parameters, having no parameters in the <span> tag won’t change the styling of your document at all. Let’s see what happens when we add a little CSS styling magic to the <span> tag:
<div class="container">
      <p><span style='font-weight:bold'>Thank you</span> for booking your next trip with XYZ Airlines!!</p>
      <p>Can't wait to see you on your travels!!</p>
</div>
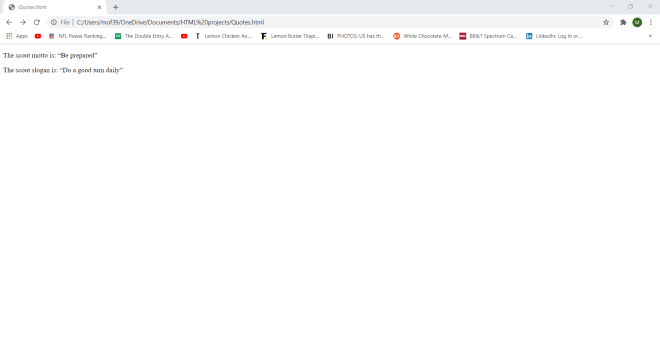
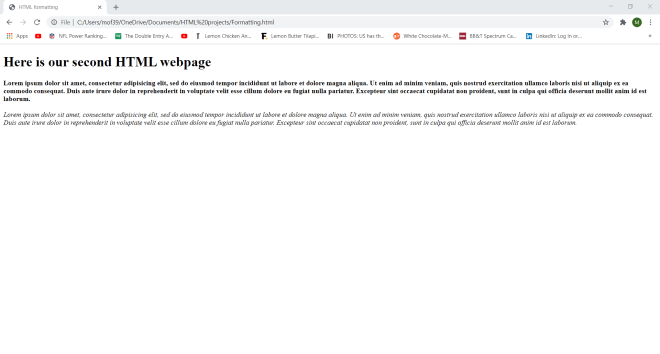
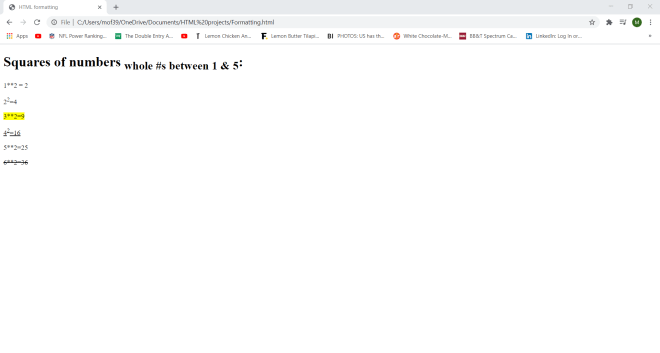
To add some CSS styling in your <span> tag, pass in a style parameter inside the <span> tag and pass in your desired styling as a string value for the style parameter. In this example, since I wanted to make the Thank you part of the first <p> tag bold, I wrapped Thank you in a <span> tag and applied a font-weight:bold styling to Thank you.
Now, what if you wanted to apply more than one CSS styling to your <span> tag? Take a look at this code below:
<div class="container">
      <p><span style='font-weight:bold; color:green'>Thank you</span> for booking your next trip with XYZ Airlines!!</p>
      <p>Can't wait to see you on your travels!!</p>
</div>
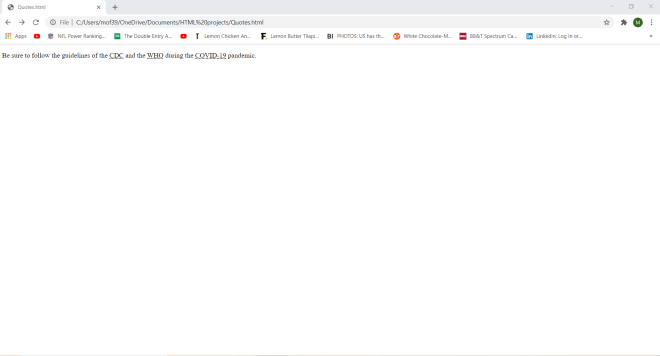
In this example, I made the Thank you portion of the first <p> tag both bold AND green by applying this styling: font-weight:bold; color:green. Keep in mind that if you’re applying more than one type of CSS styling to your <span> tag, you’ll need to separate each styling element (font-weight and color in this example) with a semicolon.
Thanks for reading,
Michael