Hello everybody,
Michael here, and today’s post will be an HTML lesson on the basics of formatting text in HTML.
Let’s start off with a simple HTML web-page (this isn’t the same code from the previous HTML lesson):
<!DOCTYPE html>
<html lang="en" dir="ltr">
  <head>
    <meta charset="utf-8">
    <title>HTML formatting</title>
  </head>
  <body>
    <h1>Here is our second HTML webpage</h1>
    <p>Lorem ipsum dolor sit amet, consectetur adipisicing elit, sed do eiusmod tempor incididunt ut labore et dolore magna aliqua. Ut enim ad minim veniam, quis nostrud exercitation ullamco laboris nisi ut aliquip ex ea commodo consequat. Duis aute irure dolor in reprehenderit in voluptate velit esse cillum dolore eu fugiat nulla pariatur. Excepteur sint occaecat cupidatat non proident, sunt in culpa qui officia deserunt mollit anim id est laborum.</p>
  </body>
</html>
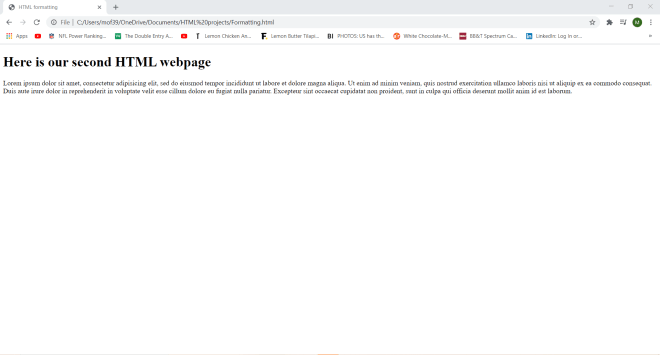
As you can see, I have generated a plain (and rather boring) HTML webpage with one line of the lorem ipsum placeholder text.
Now, let’s play around with the text styling on this webpage. Here’s the code I will use for this example (as well as the resulting webpage):
<!DOCTYPE html>
<html lang="en" dir="ltr">
  <head>
    <meta charset="utf-8">
    <title>HTML formatting</title>
  </head>
  <body>
    <h1>Here is our second HTML webpage</h1>
    <b>Lorem ipsum dolor sit amet, consectetur adipisicing elit, sed do eiusmod tempor incididunt ut labore et dolore magna aliqua. Ut enim ad minim veniam, quis nostrud exercitation ullamco laboris nisi ut aliquip ex ea commodo consequat. Duis aute irure dolor in reprehenderit in voluptate velit esse cillum dolore eu fugiat nulla pariatur. Excepteur sint occaecat cupidatat non proident, sunt in culpa qui officia deserunt mollit anim id est laborum.</b>
    <br>
    <br>
    <i>Lorem ipsum dolor sit amet, consectetur adipisicing elit, sed do eiusmod tempor incididunt ut labore et dolore magna aliqua. Ut enim ad minim veniam, quis nostrud exercitation ullamco laboris nisi ut aliquip ex ea commodo consequat. Duis aute irure dolor in reprehenderit in voluptate velit esse cillum dolore eu fugiat nulla pariatur. Excepteur sint occaecat cupidatat non proident, sunt in culpa qui officia deserunt mollit anim id est laborum.</i>
  </body>
</html>

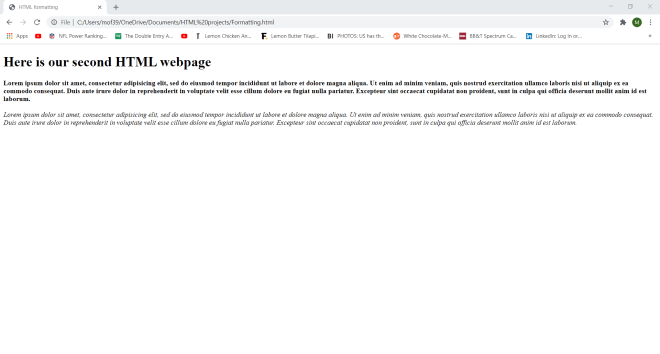
I used the same text in this example as I did in the previous example-the only difference is that I added a second lorem ipsum paragraph.
Also, you’ll notice that the two lorem ipsum paragraphs have special formatting-the first paragraph is bold and the second paragraph is italicized. How did I do that? Well, I wrapped the first lorem ipsum paragraph in a <b> tag-any text in this tag turns bold. I wrapped the second lorem ipsum paragraph in an <i> tag-any text in this tag turns italic.
- FYI, the
<br>tag simply serves as a line-breaker between lines of text in HTML. There is no</br>ending tag. - You can wrap formatted paragraphs in a
<p>tag, but it’s not necessary for text formatting (I didn’t do so in the code above). - You can also format headers. Here’s how I italicized the header of this webpage:
<h1><i>Here is our second HTML webpage</i></h1>
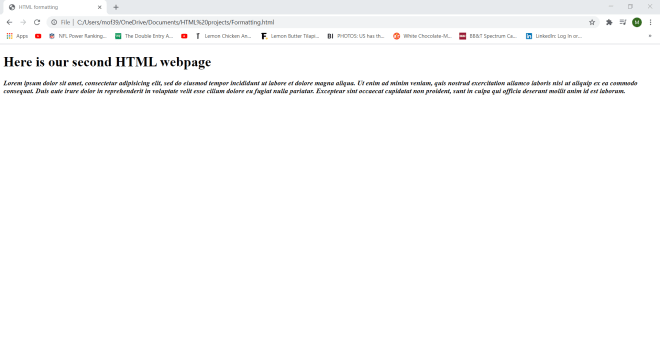
All I needed to do to italicize the header of the webpage was wrap the <i> tag inside the <h1> tag and voila!-I have an italicized header. I could’ve also wrapped the <b> tag inside the <h1> tag, but that would’ve been redundant since H1 is already bold.
Now, can I turn text both bold AND italic? Yes, and here’s how to do so:
<!DOCTYPE html>
<html lang="en" dir="ltr">
  <head>
    <meta charset="utf-8">
    <title>HTML formatting</title>
  </head>
  <body>
    <h1>Here is our second HTML webpage</h1>
    <b><i>Lorem ipsum dolor sit amet, consectetur adipisicing elit, sed do eiusmod tempor incididunt ut labore et dolore magna aliqua. Ut enim ad minim veniam, quis nostrud exercitation ullamco laboris nisi ut aliquip ex ea commodo consequat. Duis aute irure dolor in reprehenderit in voluptate velit esse cillum dolore eu fugiat nulla pariatur. Excepteur sint occaecat cupidatat non proident, sunt in culpa qui officia deserunt mollit anim id est laborum.</b></i>
  </body>
</html>
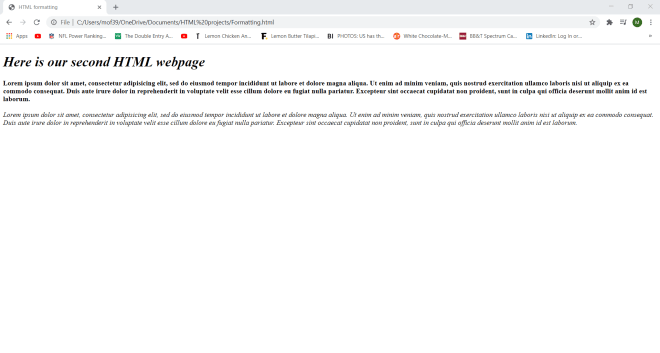
In order to turn text bold AND italic, wrap the text in both a <b> and an <i> tag (it doesn’t matter if you use the <b> tag before the <i> tag or vice versa).
Now, let’s check out three new text formatting elements-<strong>, <em>, and <small>:
<!DOCTYPE html>
<html lang="en" dir="ltr">
  <head>
    <meta charset="utf-8">
    <title>HTML formatting</title>
  </head>
  <body>
    <h1>Here is our <small>second HTML webpage</small></h1>
    <p>We will work to be an example of how we as brothers and sisters on this earth should treat each other. Now, more than ever,
      the illusions of division threaten our very existence. We all know the truth: more connects us than separates us.
      But in times of crisis, the wise build bridges,
       while the <em>foolish</em> build barriers. We must find a way to look after one another as if we were <strong>one single tribe</strong></p>
  </body>
</html>
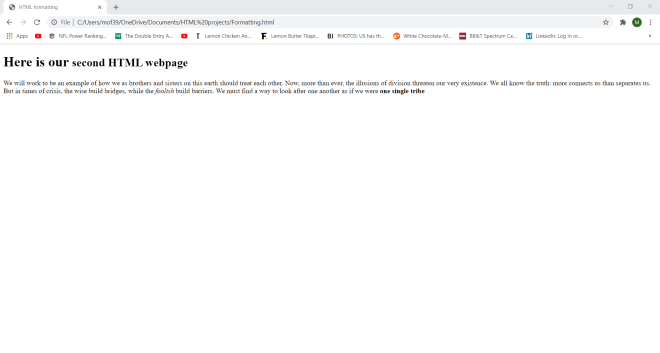
In this example, I created a webpage with the same Here is our second HTML webpage header but with different paragraph text (it’s part of T’Challa’s speech at the end of Black Panther).
Notice how the word “foolish” is italicized, the phrase “one single tribe” is bold, and the phrase “second HTML webpage” is displayed in smaller font. How did I do that? Well, I wrapped an <em> tag around the word “foolish”; the <em> tag represents emphasized text, which is usually italicized. Similarly, I wrapped a <strong> tag around the phrase “one single tribe”; the <strong> tag represents important text, which is usually in bold. As for the phrase “second HTML webpage”, it is smaller because I wrapped it in a <small> tag (yes, you can wrap text formatting tags around headers-I did so in an earlier example).
Now, last but not least, let me show you five other formatting tags-<mark>, <del>, <ins>, <sub> and <sup>:
<!DOCTYPE html>
<html lang="en" dir="ltr">
  <head>
    <meta charset="utf-8">
    <title>HTML formatting</title>
  </head>
  <body>
    <h1>Squares of numbers <sub>whole #s between 1 & 5</sub>:</h1>
    <p>1**2 = 2</p>
    <p>2<sup>2</sup>=4</p>
    <p><mark>3**2=9</mark></p>
    <p><ins>4<sup>2</sup>=16</p>
    <p>5**2=25</p>
    <p><del>6**2=36</del></p>
  </body>
</html>
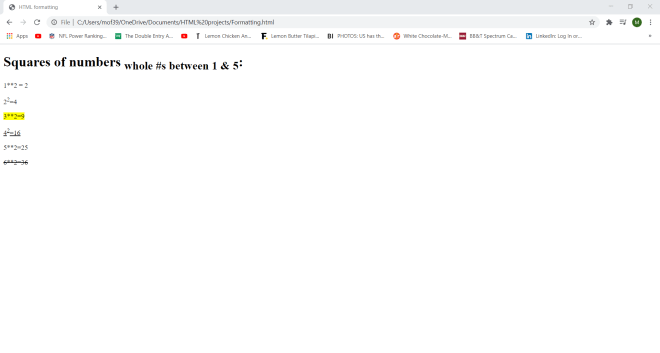
The first formatting tag I used in this webpage is <sub>, which turns any text wrapped in this tag into a subscript. In this example, I wrapped the phrase “whole #s between 1 & 5” (located in H1) in the subscript tag.
The next tag I used is <sup>, which turns text into a superscript-like the “2” in the equation 22 = 4.
Next, I used the <mark> tag to highlight the equation 3**2=9. After that, the final two tags I used were <ins> and <del>, which represent inserted and deleted webpage text, respectively. Text wrapped in an <ins> tag, like “42 = 16″ on this webpage (which is also partially wrapped in a <sup> tag), is underlined while text wrapped in a <del> tag, like “6**2=36” on this webpage, is displayed with stroke-through.
Thanks for reading,
Michael