Hello everybody,
Michael here, and today’s lesson will be on using links and quotes in HTML.
First off, let’s start with HTML links. You can use HTML links when you either want to link to a different page on the same website or a page on a different website altogether.
First, let me show you how to use a link to connect to a different webpage:
<!DOCTYPE html>
<html lang="en" dir="ltr">
  <head>
    <meta charset="utf-8">
    <title></title>
  </head>
  <body>
    <a href="https://www.linkedin.com">Click here to go to LinkedIn</a>
  </body>
</html>
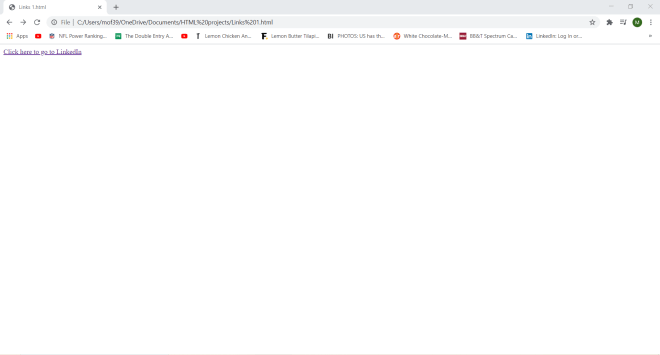
And here’s what appears when you click the link text:


In this example, I wrapped the link text-Click here to go to LinkedIn-inside an <a> tag. To ensure that the link text works, I made sure to include the URL of the site I wanted to go to-in this case, LinkedIn-as the value of the href attribute in the <a> tag.
Now, what if you wanted to link to another webpage on the same website. Here’s how to do so:
First, here’s the HTML for webpage 1 (using the same code from an example on the previous HTML post):
<!DOCTYPE html>
<html lang="en" dir="ltr">
<head>
<meta charset="utf-8">
<title></title>
<style>
table, th, td {
border: 1px solid black;
}
</style>
</head>
<body>
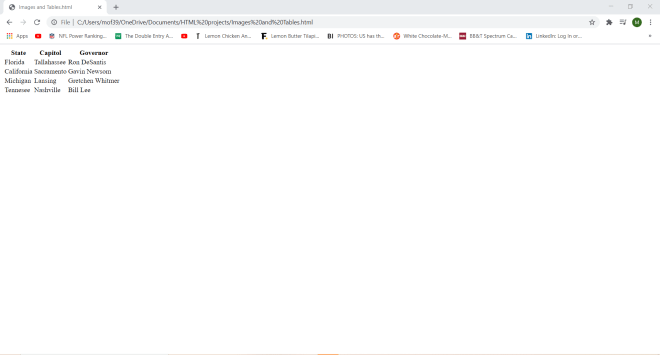
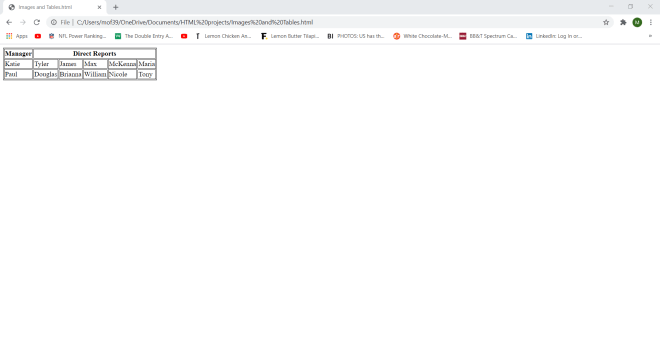
<h1>Organizational Chart of Department A</h1>
<table>
<tr>
<th>Manager</th>
<th colspan="5">Direct Reports</th>
</tr>
<tr>
<td>Katie</td>
<td>Tyler</td>
<td>James</td>
<td>Max</td>
<td>McKenna</td>
<td>Maria</td>
</tr>
<tr>
<td>Paul</td>
<td>Douglas</td>
<td>Brianna</td>
<td>William</td>
<td>Nicole</td>
<td>Tony</td>
</tr>
</table>
<a href="C:\Users\mof39\OneDrive\Documents\HTML projects\Links 2.html">Click here to view Department B's organizational structure</a>
</body>
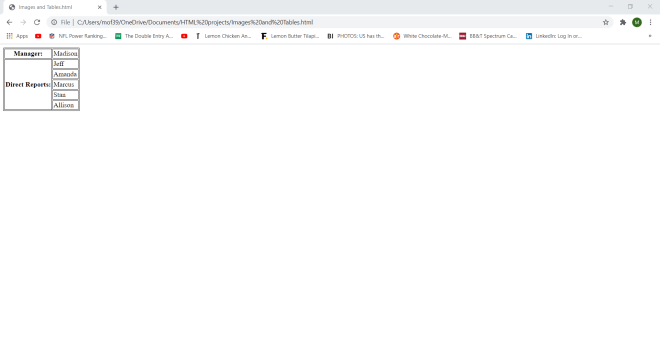
</html>And here’s the HTML for webpage 2:
<!DOCTYPE html>
<html lang="en" dir="ltr">
<head>
<meta charset="utf-8">
<title></title>
<style>
table, th, td {
border: 1px solid black;
}
</style>
</head>
<body>
<h1>Organizational Structure of Department B</h1>
<table>
<tr>
<th>Manager:</th>
<td>Madison</td>
</tr>
<tr>
<th rowspan="6">Direct Reports:</th>
<td>Jeff</td>
</tr>
<tr>
<td>Amanda</td>
</tr>
<tr>
<td>Marcus</td>
</tr>
<tr>
<td>Stan</td>
</tr>
<tr>
<td>Allison</td>
</tr>
</table>
<a href="C:\Users\mof39\OneDrive\Documents\HTML projects\Links 1.html">Click here to view Department A's organizational structure</a>
</body>
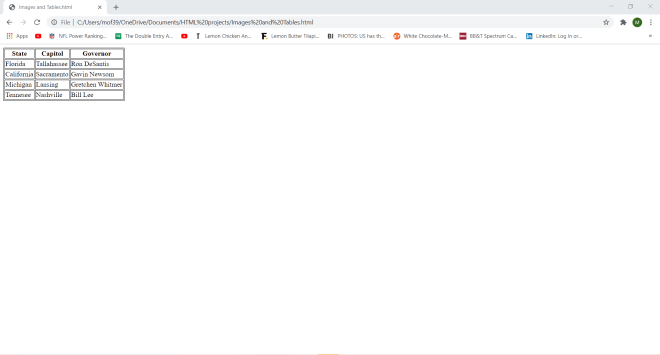
</html>Now, here’s what webpage 1 looks like:
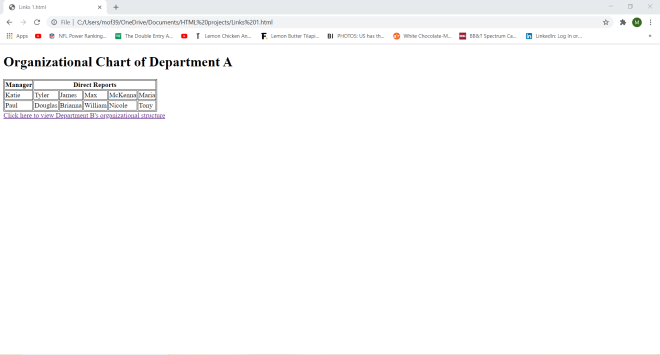
When I click the Click here to view Department B's organizational structure link text, I get sent to webpage 2:

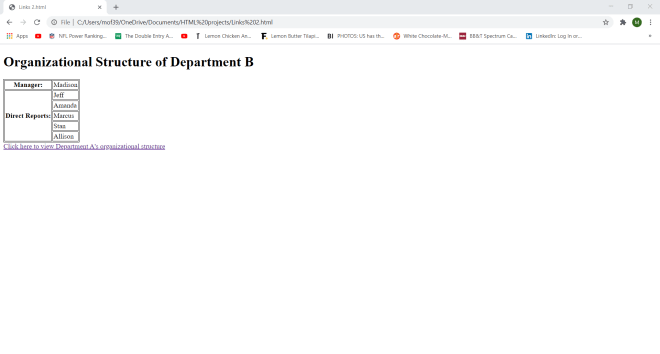
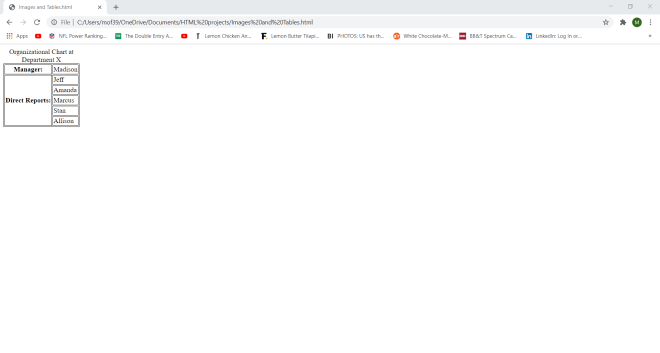
Likewise, when I click on the link text on webpage 2, I get sent back to webpage 1.
- You don’t always need to use link text; you can use images as links (I showed you how to do so in the previous HTML lesson).
Now, I know I mentioned you can use link text and set images as links in HTML, but did you know you can also link to someone’s e-mail with HTML? Here’s how to do so:
<!DOCTYPE html>
<html lang="en" dir="ltr">
  <head>
    <meta charset="utf-8">
    <title></title>
    <style>
table, th, td {
  border: 1px solid black;
}
</style>
  </head>
  <body>
    <h1>Send me an email:</h1>
    <a href="mailto:miketheblogger@outlook.com">Send email</a>
  </body>
</html>
Now, here’s what happens when I click on the Send email link text:


In my case, the e-mail program on my laptop opened up and the e-mail address I specified-miketheblogger@outlook.com-was already shown on the To line. I don’t know if the same thing will happen for you guys (guess it depends on what laptop/computer you are using-I’m working with a Dell G5).
- In case you were wondering,
miketheblogger@outlook.comis just a throwaway e-mail address that I will use for some of the lessons I will post. - In order to ensure the e-mail link works, always remember to include
mailto:before you specify the e-mail address in thehrefattribute.
Now that I’ve covered some of the basics of HTML links, let’s dive right in to HTML quotes.
First off, let me show you how to create a block-quote in HTML. Block-quotes are sections of text in the webpage that usually come from another source. Here’s a simple example of an HTML block-quote using an excerpt from the Nashville Humane Society website’s homepage:
<!DOCTYPE html>
<html lang="en" dir="ltr">
  <head>
    <meta charset="utf-8">
    <title></title>
  </head>
  <body>
    <p>Here's a little bit about Nashville Humane Society:</p>
    <blockquote cite="https://nashvillehumane.org">
      Nashville Humane is committed to promoting humane education, controlling pet overpopulation and finding
      responsible homes for the homeless and adoptable pet community in Nashville and throughout Tennessee.
      NHA has been voted “Best Shelter” and “Favorite Not-For-Profit” year over year, and is proud to have a save rate of 99%.
    </blockquote>
  </body>
</html>
To add a block-quote to your HTML webpage, use the aptly-named <blockquote> tag.
- HTML block-quotes are always indented by the browser.
- You can cite the source of the quote by add the quote’s source to the
citeattribute, but this is optional.
Now, what if we wanted to link this quote back to the Nashville Humane Society’s website’s homepage? Here’s how to do so:
<!DOCTYPE html>
<html lang="en" dir="ltr">
  <head>
    <meta charset="utf-8">
    <title></title>
  </head>
  <body>
    <p>Here's a little bit about Nashville Humane Society:</p>
    <a href="https://nashvillehumane.org"><blockquote cite="https://nashvillehumane.org">
      Nashville Humane is committed to promoting humane education, controlling pet overpopulation and finding
      responsible homes for the homeless and adoptable pet community in Nashville and throughout Tennessee.
      NHA has been voted “Best Shelter” and “Favorite Not-For-Profit” year over year, and is proud to have a save rate of 99%.
    </blockquote></a>
  </body>
</html>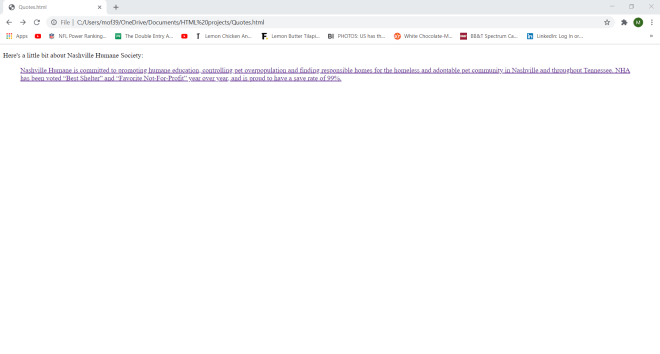
Here’s where the link takes you:
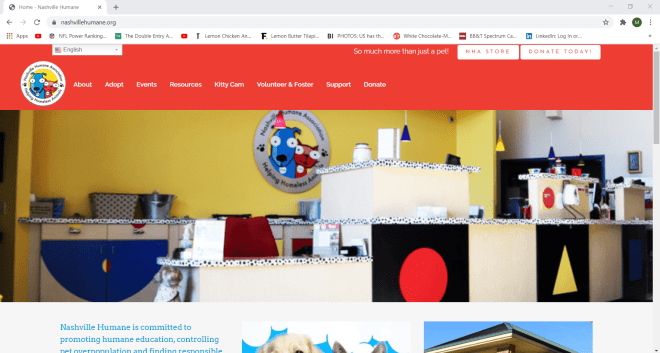
To turn a block-quote (or any quote) into a link, all I needed to do was to wrap the blockquote in an <a> tag and specify the website I wanted to link to in the href attribute.
Now, what if you wanted to add a short quotation to your web-page. Here’s how to do so (I actually added two short quotations here, but you’ll get the idea):
<!DOCTYPE html>
<html lang="en" dir="ltr">
  <head>
    <meta charset="utf-8">
    <title></title>
  </head>
  <body>
    <p>The scout motto is: <q>Be prepared</q>
    <p>The scout slogan is: <q>Do a good turn daily</q></p>
  </body>
</html>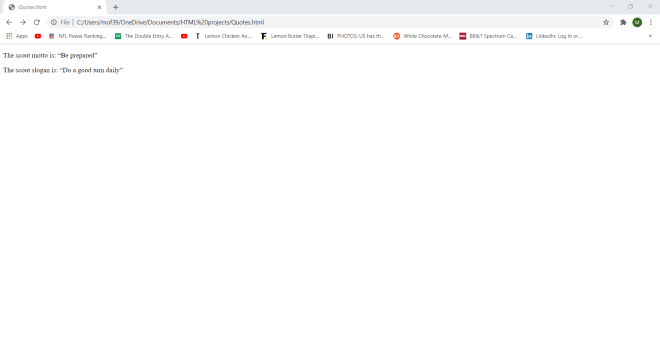
To insert a short quotation in your webpage, wrap the quotation text in a <q> tag; the browser will automatically add quotation marks to any text wrapped in a <q> tag.
- You can also add a
citeattribute to a short quotation, but it wasn’t necessary here.
Great job so far! Now let’s see how you can deal with acronyms in HTML:
<!DOCTYPE html>
<html lang="en" dir="ltr">
  <head>
    <meta charset="utf-8">
    <title></title>
  </head>
  <body>
    <p>Be sure to follow the guidelines of the <abbr title="Centers for Disease Control">CDC</abbr> and the <abbr title="World Health Organization">WHO</abbr> during the <abbr title="Coronavirus Disease 2019">COVID-19</abbr> pandemic.</p>
  </body>
</html>
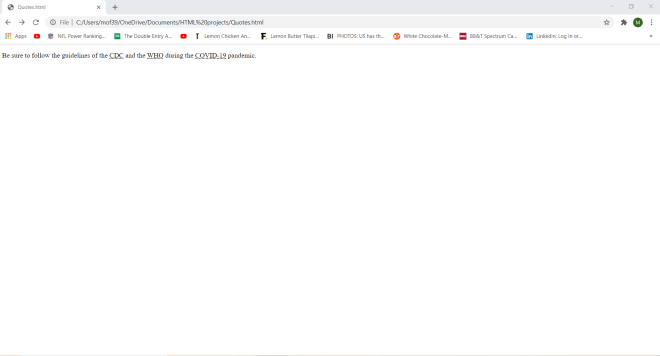
For any acronyms in HTML, wrap them in <abbr> tags and specify the full name of the acronym in the title attribute of the <abbr> tag.
Also, if you hover over each acronym, you can see the value of the full name in a text box. You can see that CDC stands for Centers for Disease Control, WHO stands for World Health Organization, and COVID-19 stands for Coronavirus Disease 2019.
Now let’s take a look at the <address> tag. The <address> tag is used for contact information for either an individual or an organization. This tag can be used for several different modes of contact information such as physical address, e-mail addresses, social media profiles, etc.
Here’s an example of the <address> tag in action:
<!DOCTYPE html>
<html lang="en" dir="ltr">
  <head>
    <meta charset="utf-8">
    <title></title>
  </head>
  <p>To come to the Parthenon in Nashville, please visit this address:</p>
  <address>
    2600 West End Ave.,<br>
    Nashville, TN 37203.
  </address>
</html>

To add an address (of any kind) to your HTML webpage, wrap the name of the address in an <address> tag. Addresses are always italicized in your browser and browsers always add a line break before and after the address element.
Last but not least, let’s explore the <cite> tag (which is similar to the cite attribute). The <cite> tag is usually used to define the title of a creative work (not the creator of such a work).
Here’s the <cite> tag in action:
<!DOCTYPE html>
<html lang="en" dir="ltr">
  <head>
    <meta charset="utf-8">
    <title></title>
  </head>
  <body>
    <img src="C:/Users/mof39/OneDrive/Pictures/hybridtheory.jfif" alt="album cover">
    <p><cite>Hybrid Theory-</cite>Album from Linkin Park released in 2000</p>
  </body>
</html>
To cite a creative work, wrap the name of the creative work (in this case Hybrid Theory) in a <cite> tag-don’t wrap the name of the work’s creator in the <cite> tag! The browser will automatically italicize anything in the <cite> tag.
Thanks for reading,
Michael